Attach the air receiver to the air compressor
The air receiver is attached to the compressor using the air hose, allowing it to be filled with compressed air.-
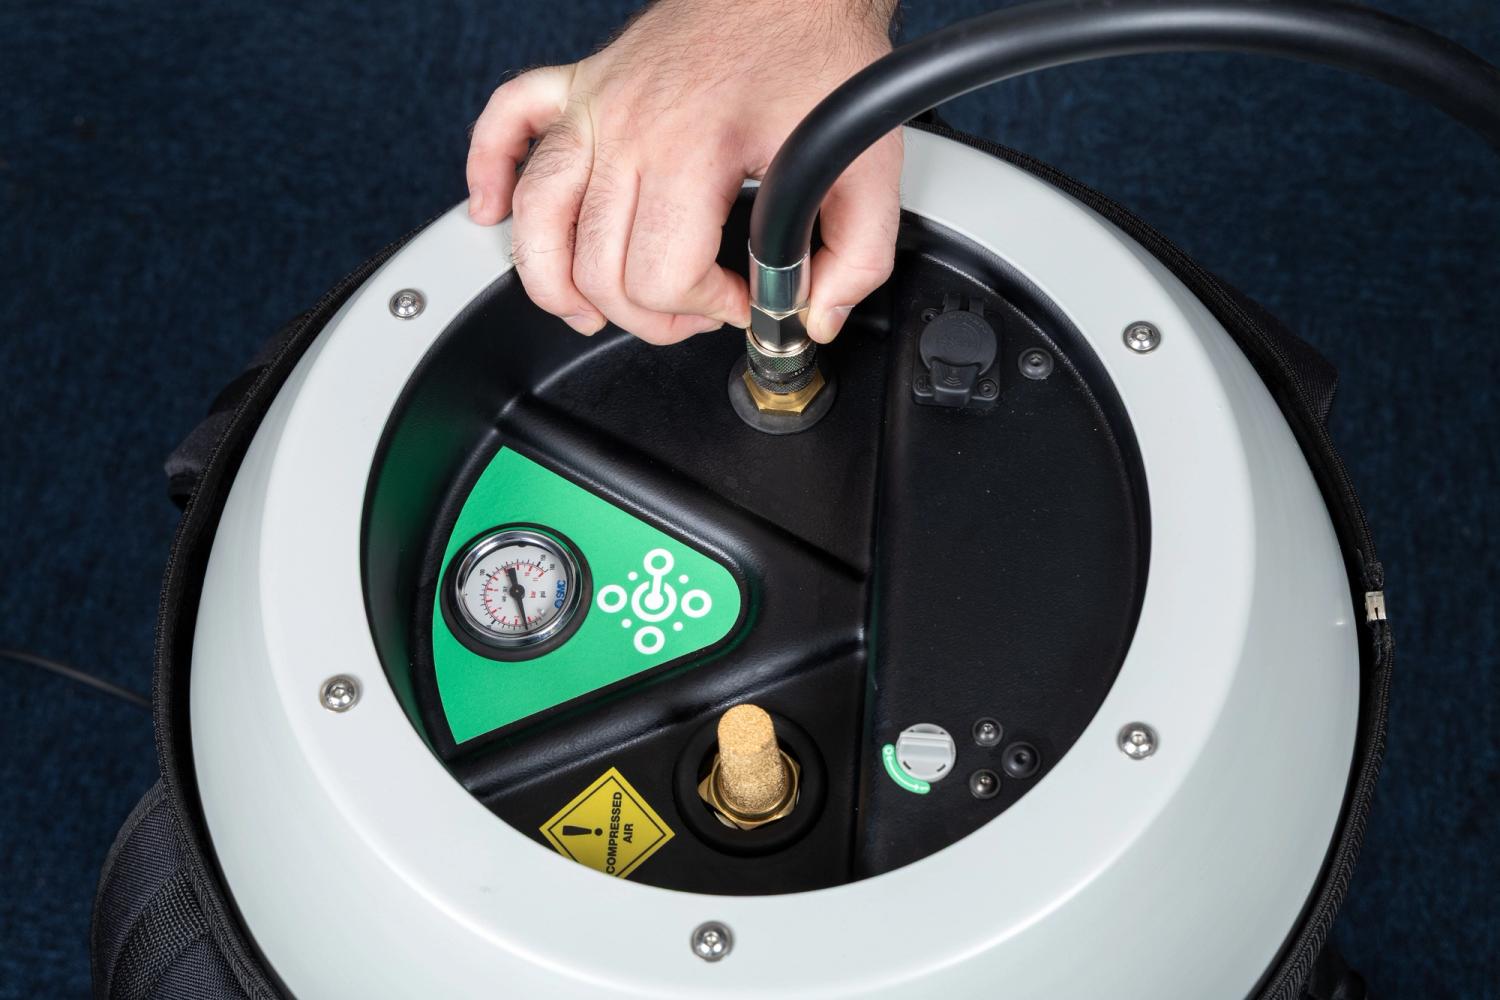
The female end of the air hose should be connected to the top of the air receiver.
-
Attach the connector by pulling up the locking collar and pressing firmly until it locks into place.
-
Attach the connector by pulling up the locking collar and pressing firmly until it locks into place.
-
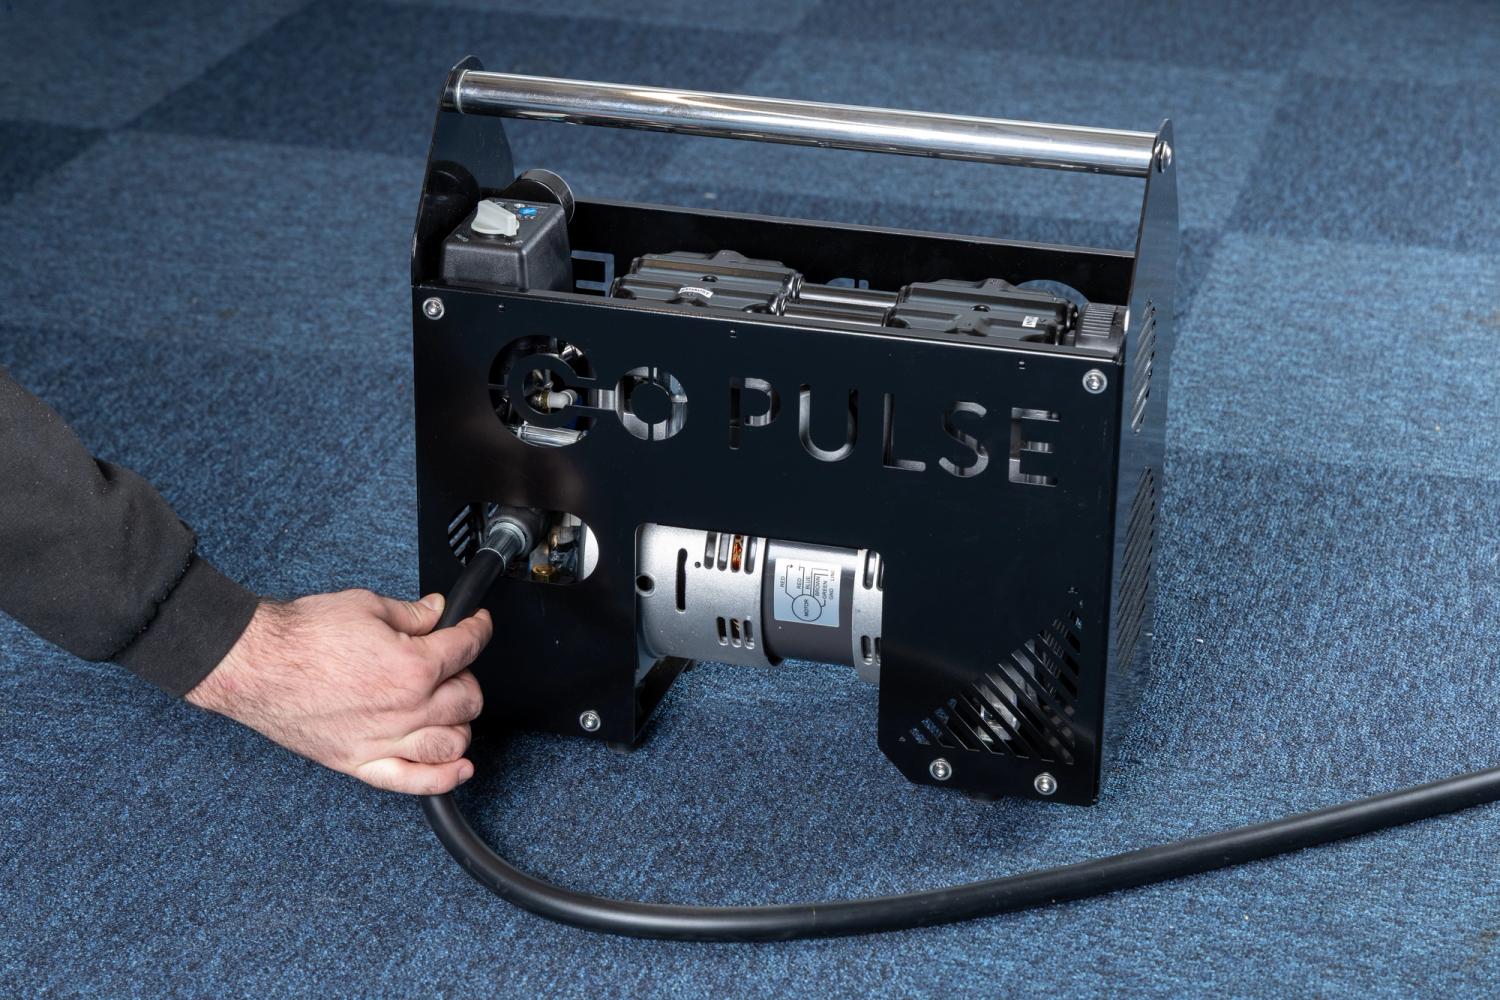
The male end of the air hose is then connected to the side of the compressor.
-
Attach the hose to the socket receiver by firmly inserting it until it locks into place.
-
Attach the hose to the socket receiver by firmly inserting it until it locks into place.
Connect the air receiver to the controller
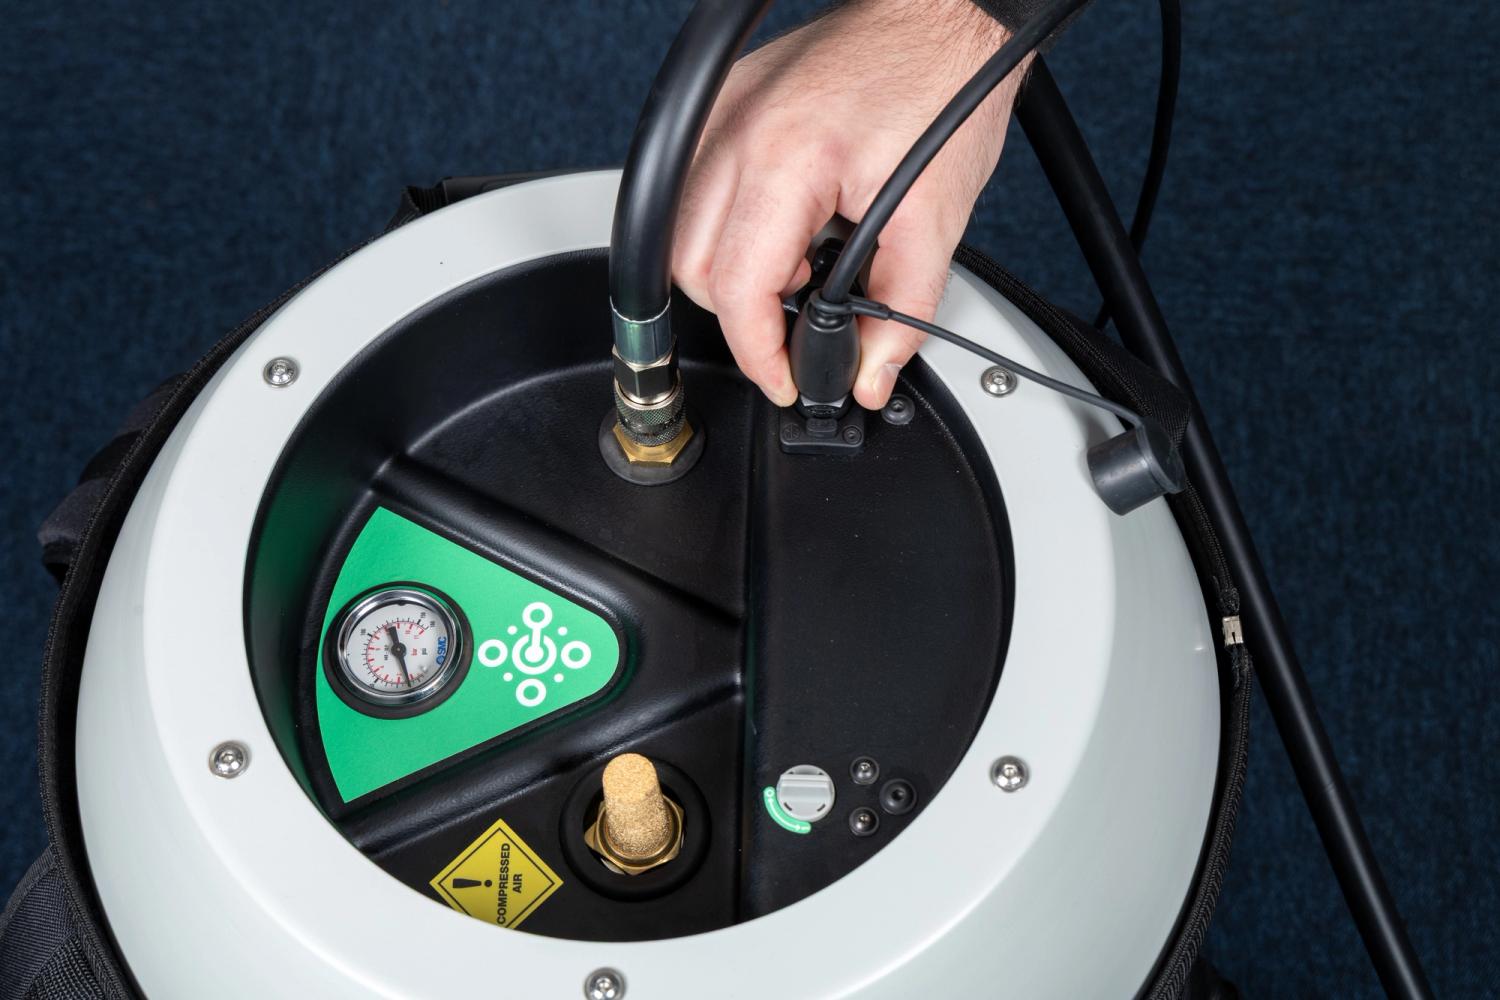
The air receiver is connected to the controller using the interconnect cable. The interconnect cable also provides power to the air receiver using the Power over Ethernet (PoE+) protocol.-
One end of the interconnect cable should be connected to the top of the air receiver.
- Remove the dust cap from the plug end of the cable and the dust cover from the port.
-
Connect the interconnect cable by aligning the tab and inserting it until it locks into position.
-
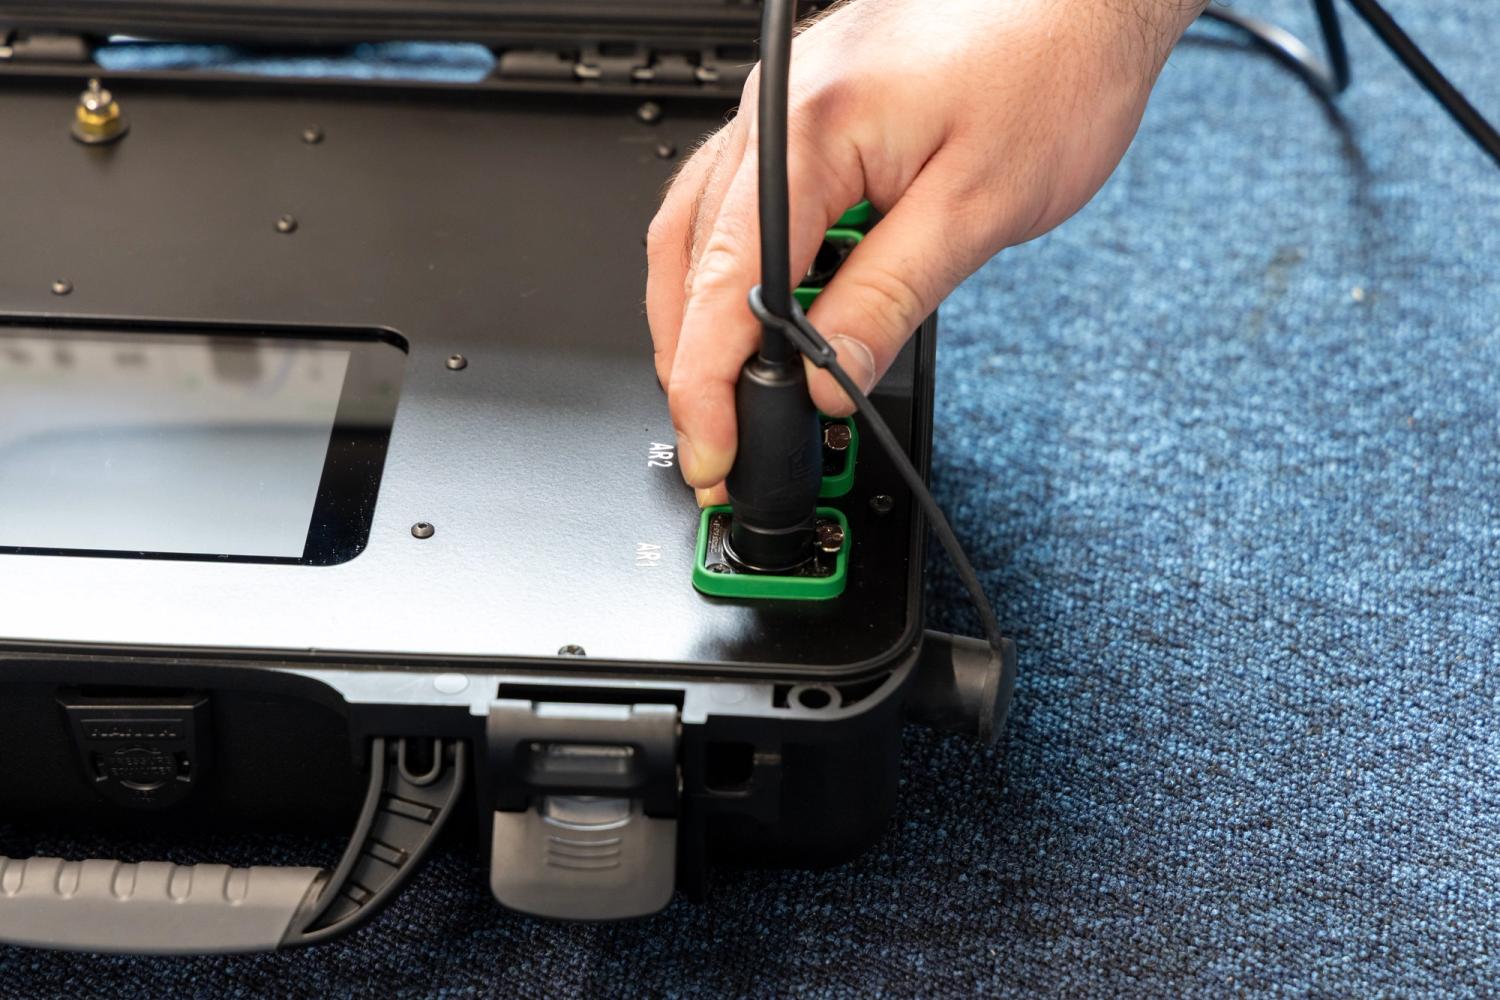
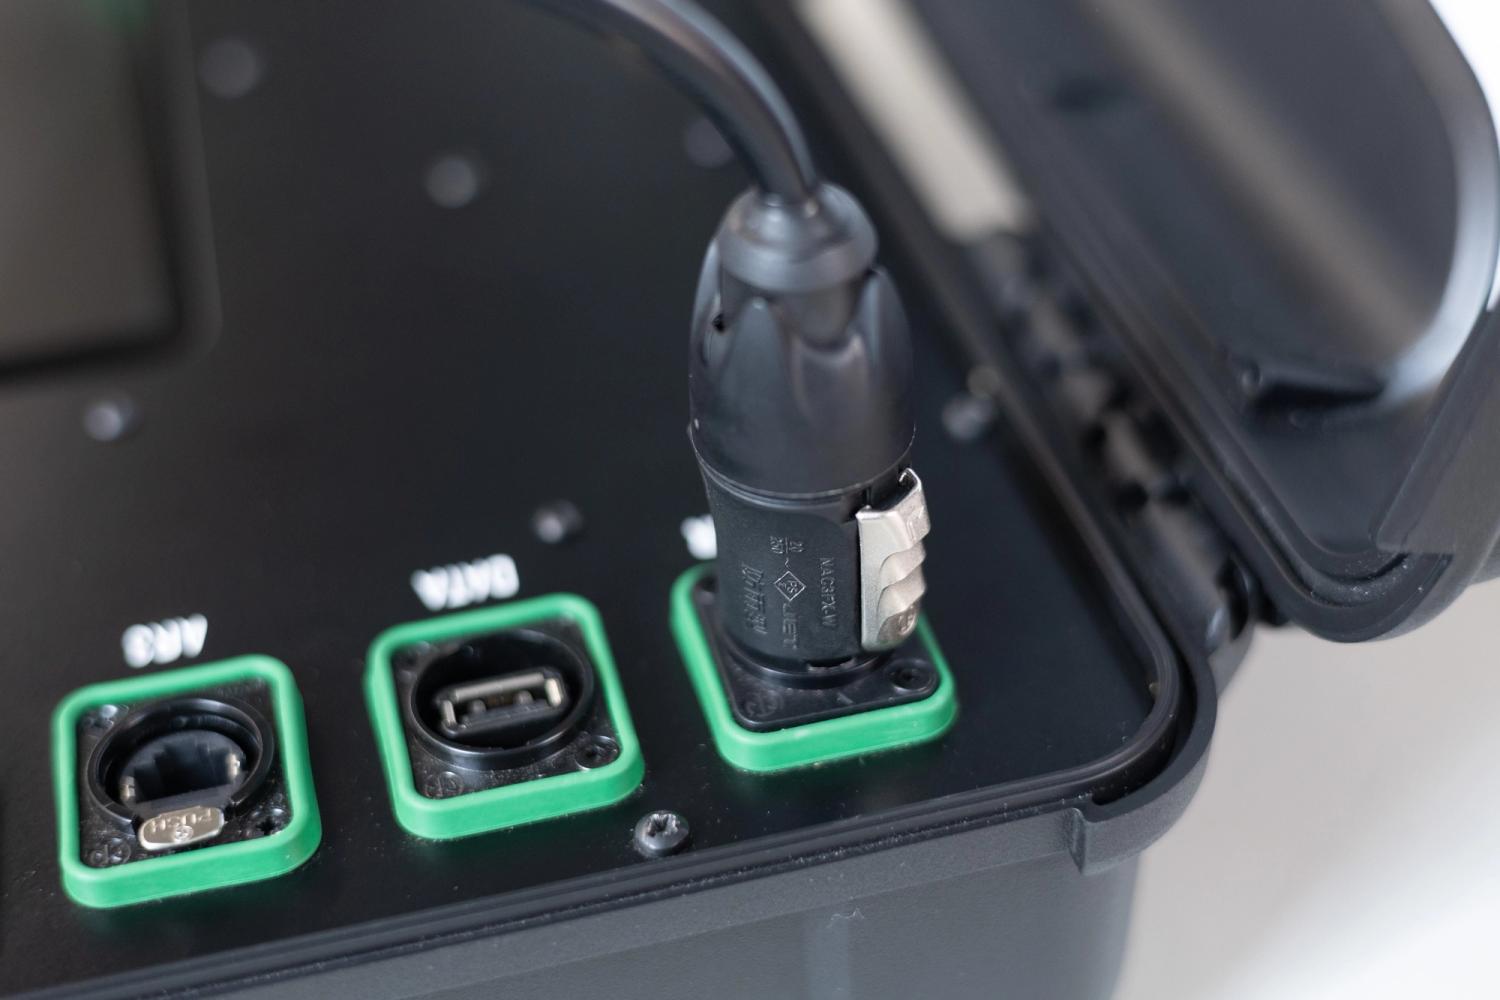
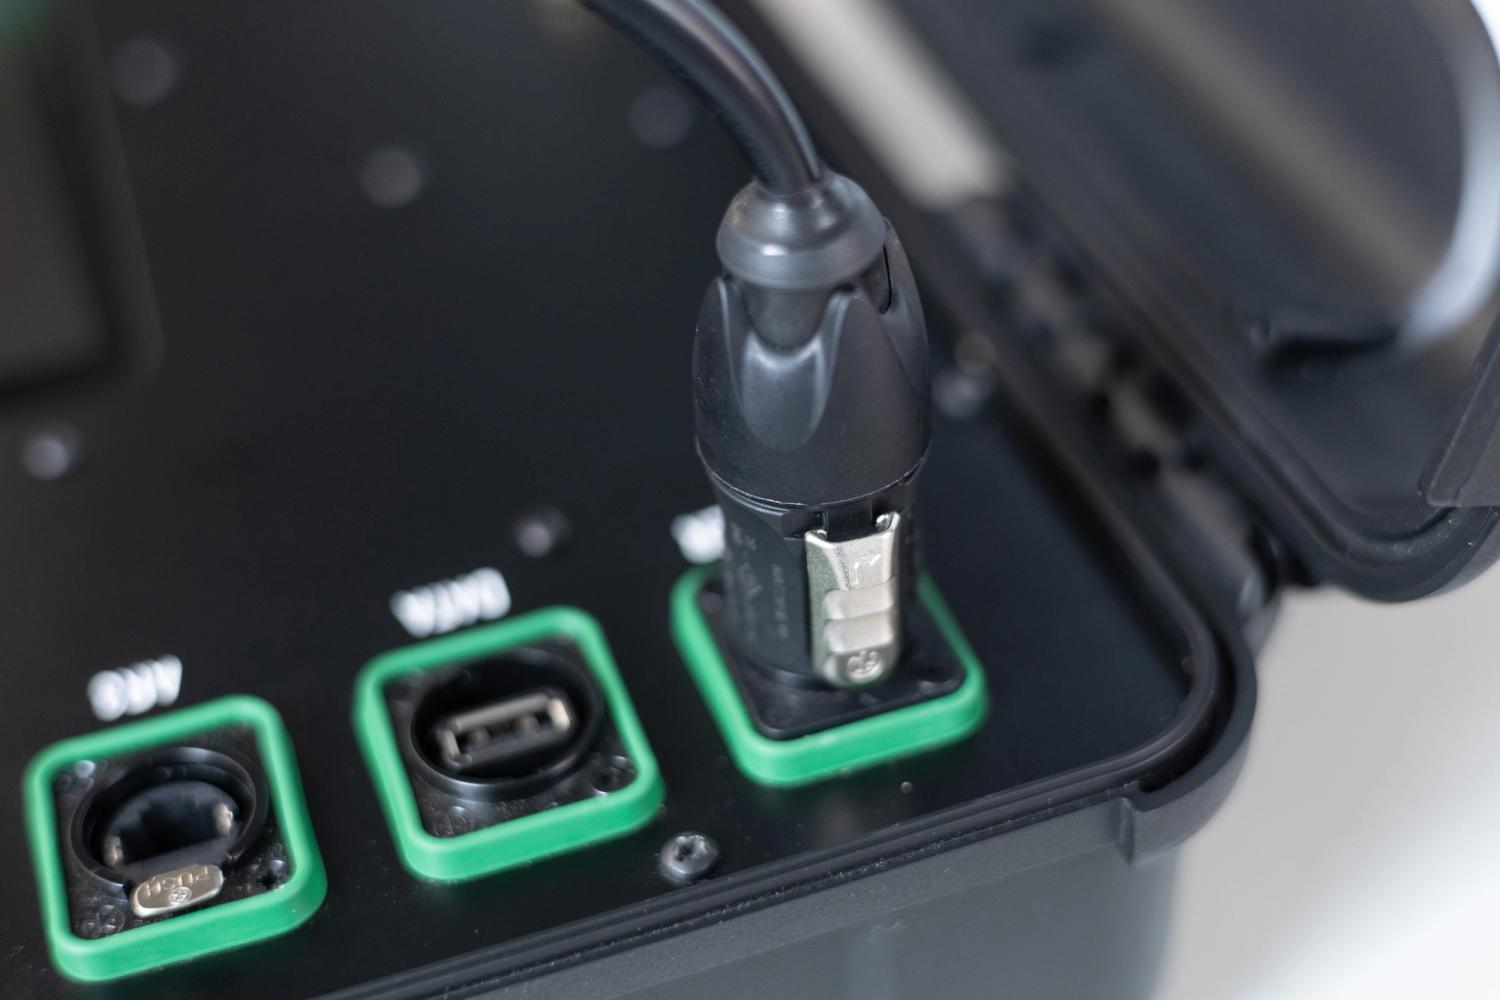
The other end of the interconnect cable should be connected to the controller.
- Remove the dust cap from the plug end.
-
Connect the interconnect cable into any of AR ports by aligning the tab and inserting it until it locks into position.
Connecting power to the system
Mains power must be supplied to both the controller and the air compressor.-
The controller must be powered from a mains power supply using the specialised power cord.
- Insert the mains plug end of the cable into a wall socket or other power outlet.
- Insert the power connector on the other end of the cable into the POWER port on the controller by locating it at a 45º angle.
-
Rotate the power connector clockwise until it locks into position.
-
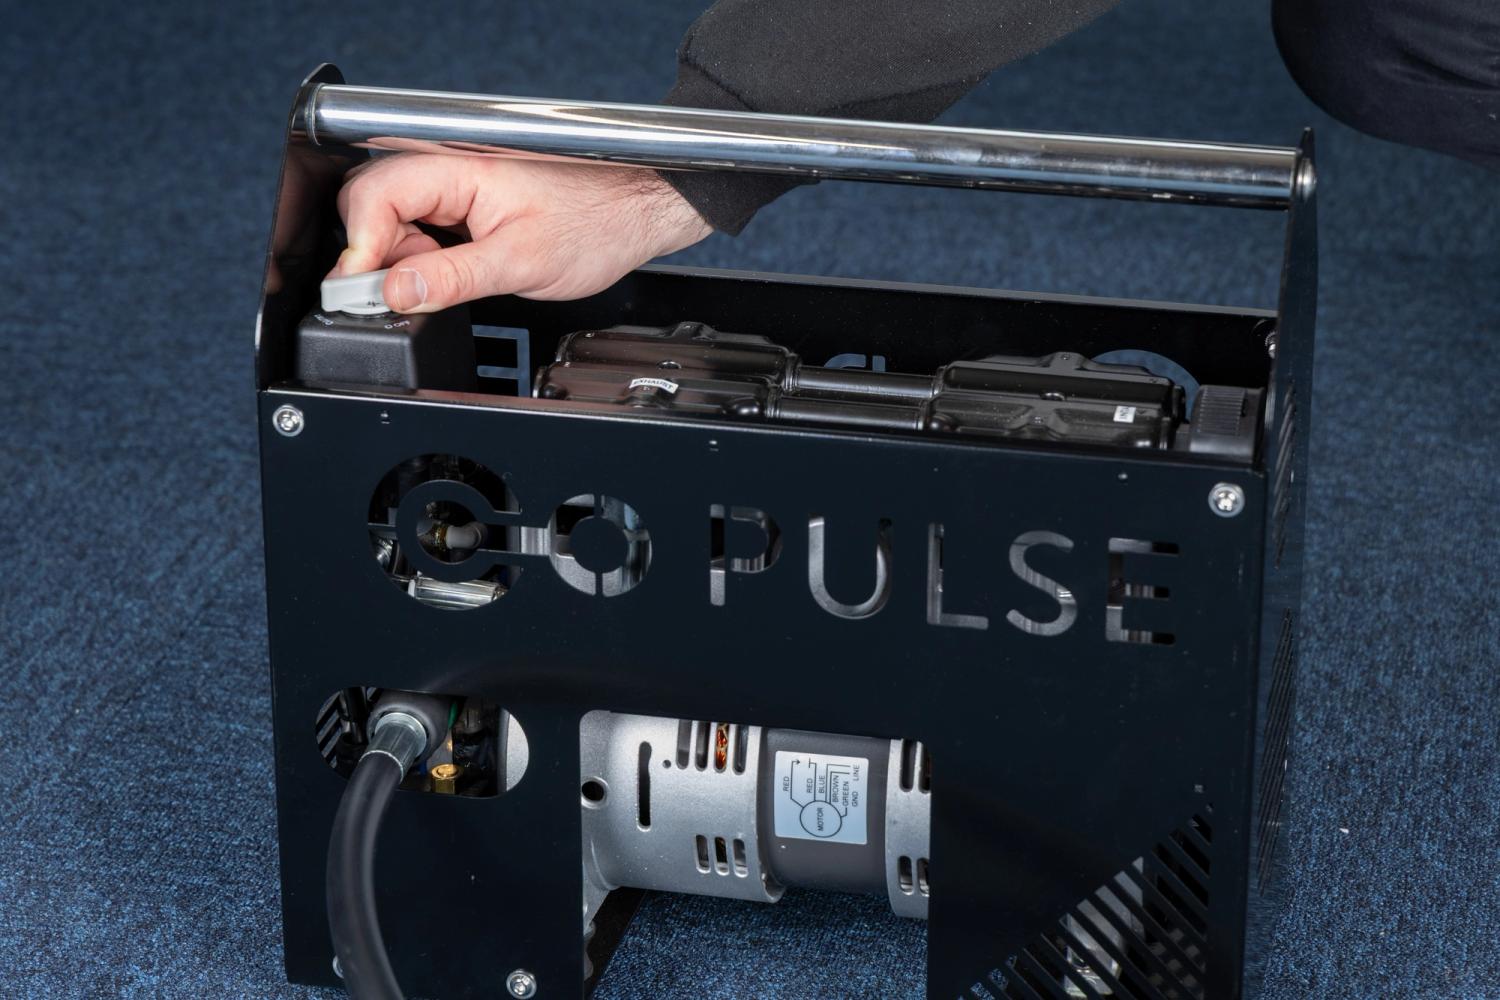
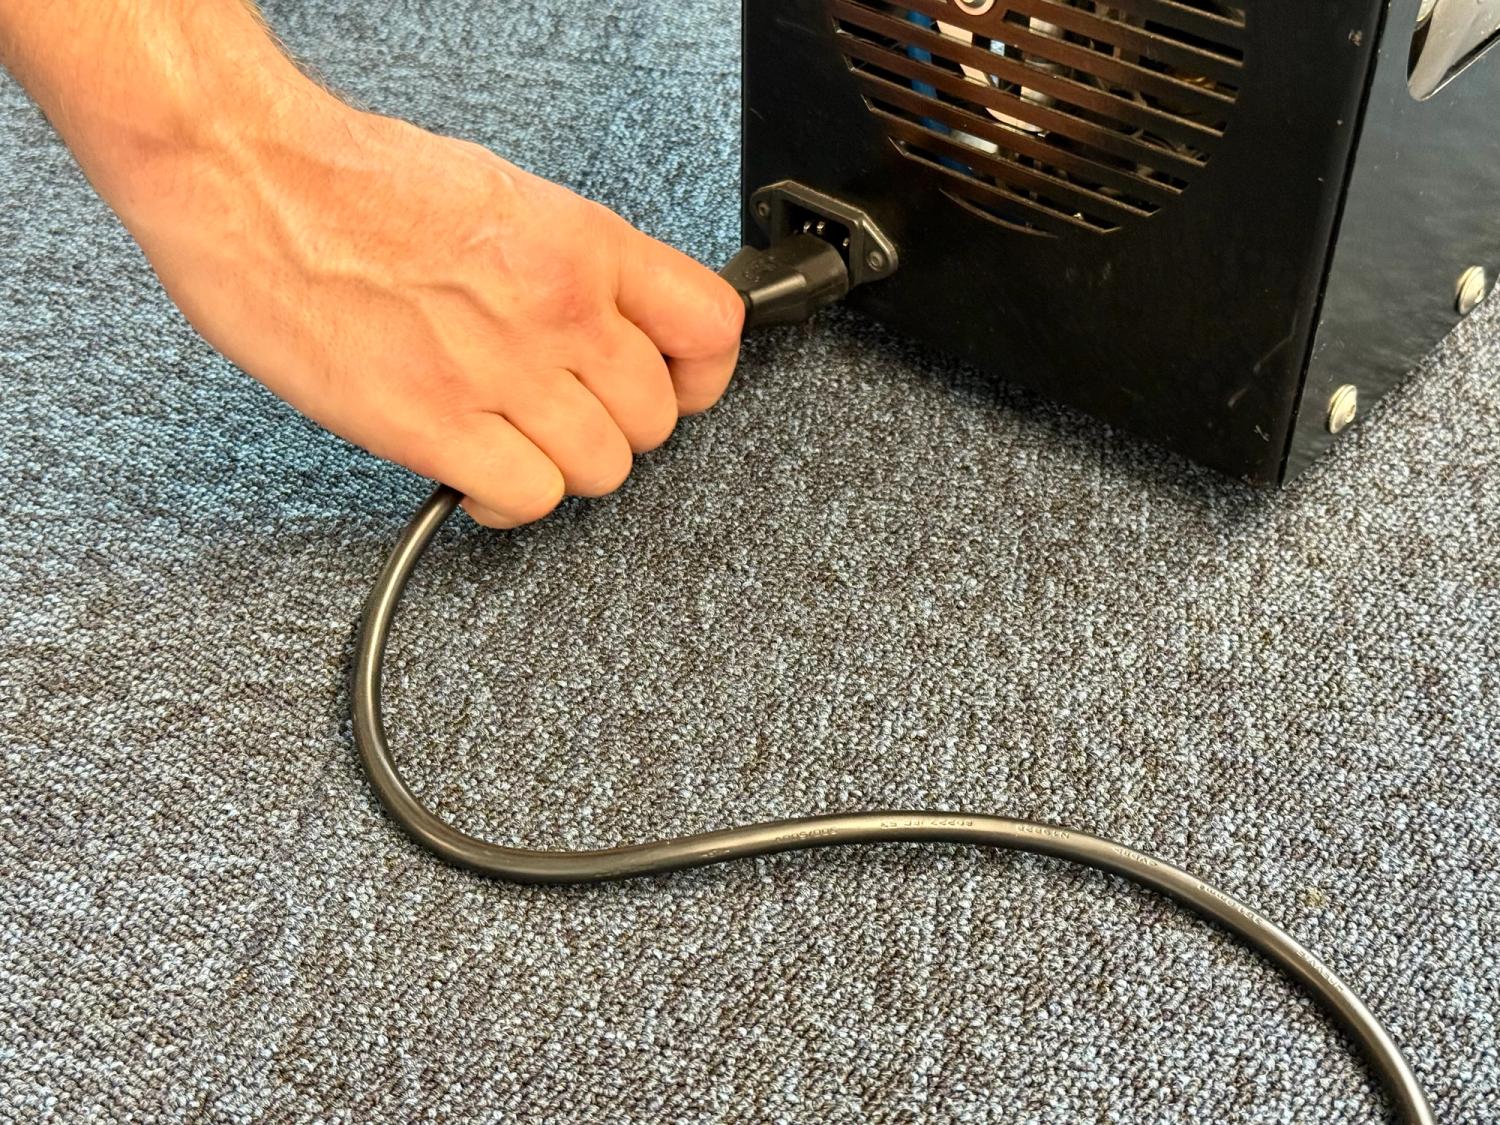
The air compressor must also be powered from a mains power supply using the standard power cord.
- Insert the mains plug end of the cable into a wall socket or other power outlet.
-
Insert the other end into the power socket on the end panel of the compressor.
Turning on the system
Once all cables and hoses have been connected, the system can be powered on.- Switch on both the controller and air compressor mains power supplies at the wall sockets or power outlets.
-
Turn the air compressor on by rotating the power switch to the ON/AUTO position.