> ## Documentation Index
> Fetch the complete documentation index at: https://docs.pulseairtest.com/llms.txt
> Use this file to discover all available pages before exploring further.

# Equipment preparation

## Connecting equipment

This setup guide assumes you are only using a single air receiver. For instructions on using more than one air receiver, refer to <a href="/operation/air-receivers#using-multiple-air-receivers">using multiple air receivers</a>.

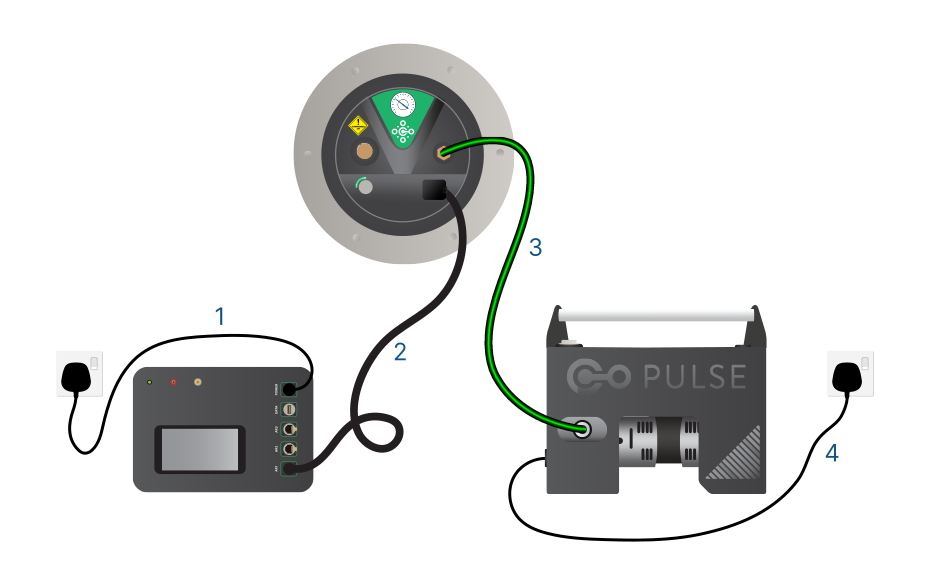
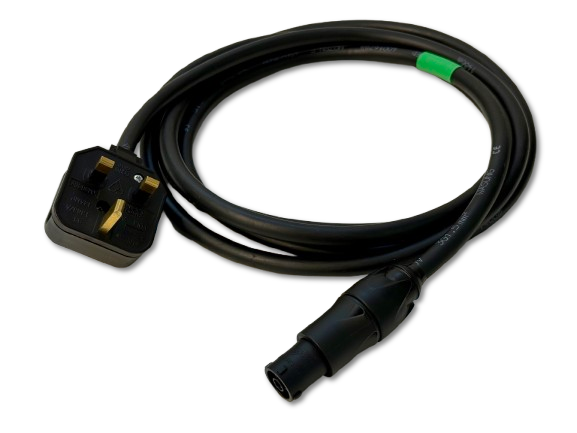
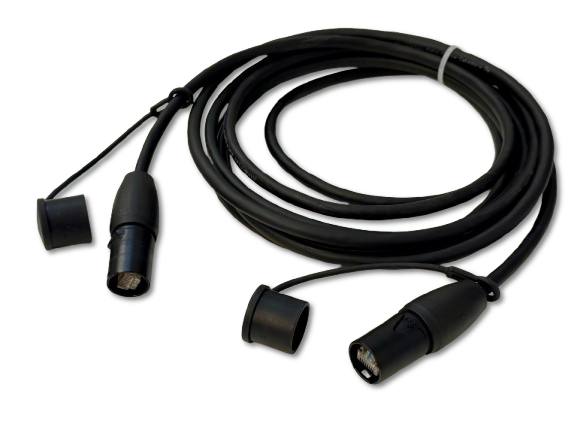
<Frame caption="Connect your Pulse equipment as per this diagram using the cables numbers below">
  <img src="https://cdn.sanity.io/images/m16cqsyp/production/ae9e61d64e1737636dbe8e739dcdb4636393020d-930x585.svg" alt="Connecting equipment" class="bg-white" />
</Frame>

<Columns cols={2}>
  <div>
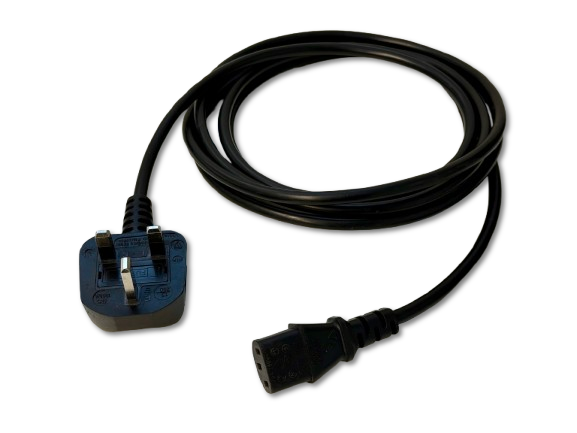
    ### 1. Controller power cord
    <img src="https://cdn.sanity.io/images/m16cqsyp/production/2ffcbe48c0cdff39be3b2b1c1e81ce2d44a25ac2-577x433.png" alt="Controller power cord" noZoom />
  </div>

  <div>
    ### 2. Air receiver interconnect cable
    <img src="https://cdn.sanity.io/images/m16cqsyp/production/4e03a461675b7a9ab1f8fbbb0c2def47ccdca2fe-577x433.png" alt="Air receiver interconnect cable" noZoom />
  </div>

  <div>
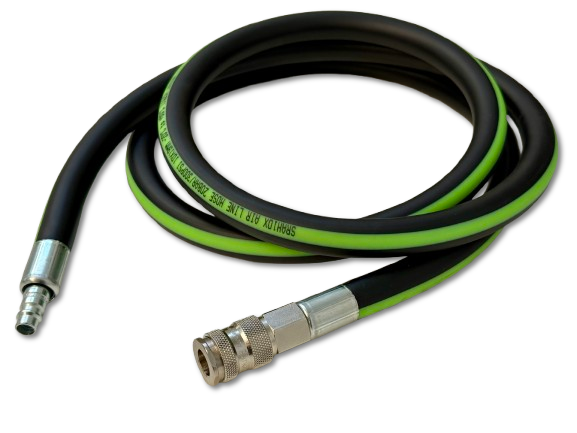
    ### 3. Compressor air hose

    <img src="https://cdn.sanity.io/images/m16cqsyp/production/5ee9bcc0d1a6b5879678cd06d4a34ee213aa03ce-577x433.png" alt="Compressor air hose" noZoom />
  </div>

  <div>
    ### 4. Compressor power cord

    <img src="https://cdn.sanity.io/images/m16cqsyp/production/0acc4df946fd118d17a49f877b3e8598bd615da6-577x433.png" alt="Compressor power cord" noZoom />
  </div>
</Columns>

## Position of air receivers

### Whole building tests

For a two-storey building, position the equipment on the ground floor, approximately in the centre of the building. For buildings with more than two storeys, the equipment should be located on one of the middle floors.

### Room only tests

When testing an individual room only, all equipment must be positioned within the room itself, with adequate clearance from walls and furniture.

## Clearance around air receivers

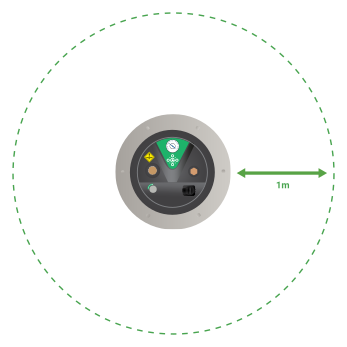
The air receivers should be placed with at least **1 meter clearance** around them, keeping away from walls and furniture. If multiple air receivers are being used, then they should be placed directly adjacent to one another.

The system must have free airflow to the whole building or space being tested to allow for unhindered air dispersal and create an instantaneous pressure difference across the entire space.

<img src="https://cdn.sanity.io/images/m16cqsyp/production/87302148074181cb24bd21821caa34e6116a62cf-347x347.svg" alt="Clearance around air receiver" />

## Location of controller

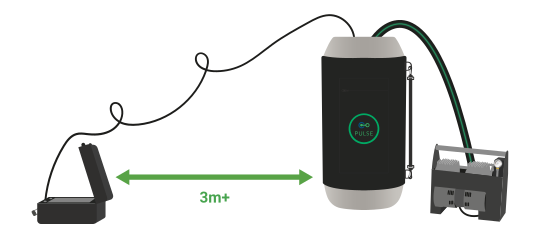
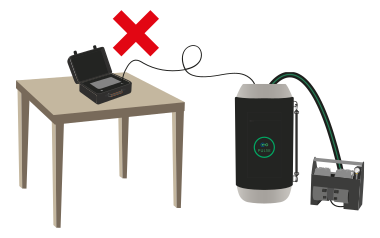
The controller should be placed on the ground at least **3 metres away** from the air receiver, with the lid open and facing the air receiver to act as a shield. Where the cable length allows it, the controller can also be positioned around a corner or behind objects to ensure the best results.
<img src="https://cdn.sanity.io/images/m16cqsyp/production/f290d9fdcce41ef7862ae9c22d90b0a80cd69b50-540x238.svg" alt="Controller located 3m+ away from air receiver" />

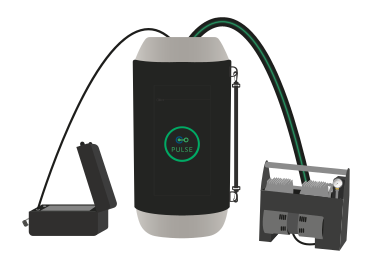
Alternatively, the controller can be placed directly at the base of the air receiver with the lid open between the air receiver and controller.
<Columns cols={2}>
  <img src="https://cdn.sanity.io/images/m16cqsyp/production/4dc8f4c15ef9c2567d9703ef2e1841c8985c68b1-372x267.svg" alt="Controller located at base on air receiver" />

  <img src="https://cdn.sanity.io/images/m16cqsyp/production/ea37cdbb4c68ee3a511c80e61a8b66f2f2f00323-380x238.svg" alt="Bad controller location" />
</Columns>

<Warning>
  The controller should NEVER be placed at the same height as the air release nozzle on top of the air receiver, or facing the air receiver(s).
</Warning>

It is also important that the controller is not too close to walls, where air waves can reverberate off the surface and affect the sensor pressure readings. We recommend that there be **0.5m** of clear air around the controller where possible.